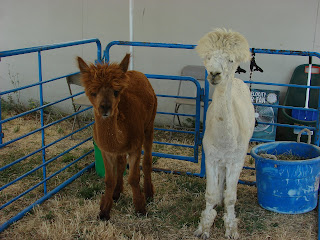
Here are some pictures from the last couple of days. First, Lambtown:


Here is the angora rabbit show. These guys have the softest fur~
Wool judging. For the first couple of years I went, I bought several whole fleece. I still have about 4 of them, waiting for me to wash and spin them. I wasn't even tempted to buy any this year. Inside the vendor area. There were a lot of yarn vendors. I bought 8 skeins of wool yarn for scarves and hats.
 Here is my latest project, a T Shirt quilt for my oldest. First, you gather as many T Shirts as you want for the quilt. Usually you use one shirt per block. Sometimes a shirt will have a good picture on the front and on the back, so one shirt will make two blocks. Cut off the neck band and sleeves, oh, and make sure the shirt is clean =)
 Here is a nice assortment of shirts. We still need to pick out about 6 more. This quilt will be either 5x5 or 6x4 depending on the final count of shirts. The smaller logos can be joined together to make one block.
You can use your favorite block pattern. I'm using one called Twist and Shout from a book called "You Did What With My T Shirt". But, you really don't need a special book to make a T Shirt quilt. Just iron fusable interfacing onto the back of the shirts.
 Here I have used Pellon, Knit interfacing. Be sure to follow the instructions on the package or you will stick the interfacing to your iron. Ask me how I know this.
  Then, put a clear ruler on top of the logo, centering it in the ruler. Cut around it. Here I am using a 12 1/2 inch ruler. The fabric will go around the T Shirt and the final block will be 15 inches. I had two of the shirt pictures that were a little bigger than 12 1/2 inches. In that case, you have a couple of choices. You can make the T Shirt part bigger, or you can just cut part of the picture out. You can also twist the ruler so that you get most of the picture in the block. You don't have to have the whole picture there. Stay tuned for more info later, as I work on the blocks and give you updates on the progress of this quilt.
No comments:
Post a Comment